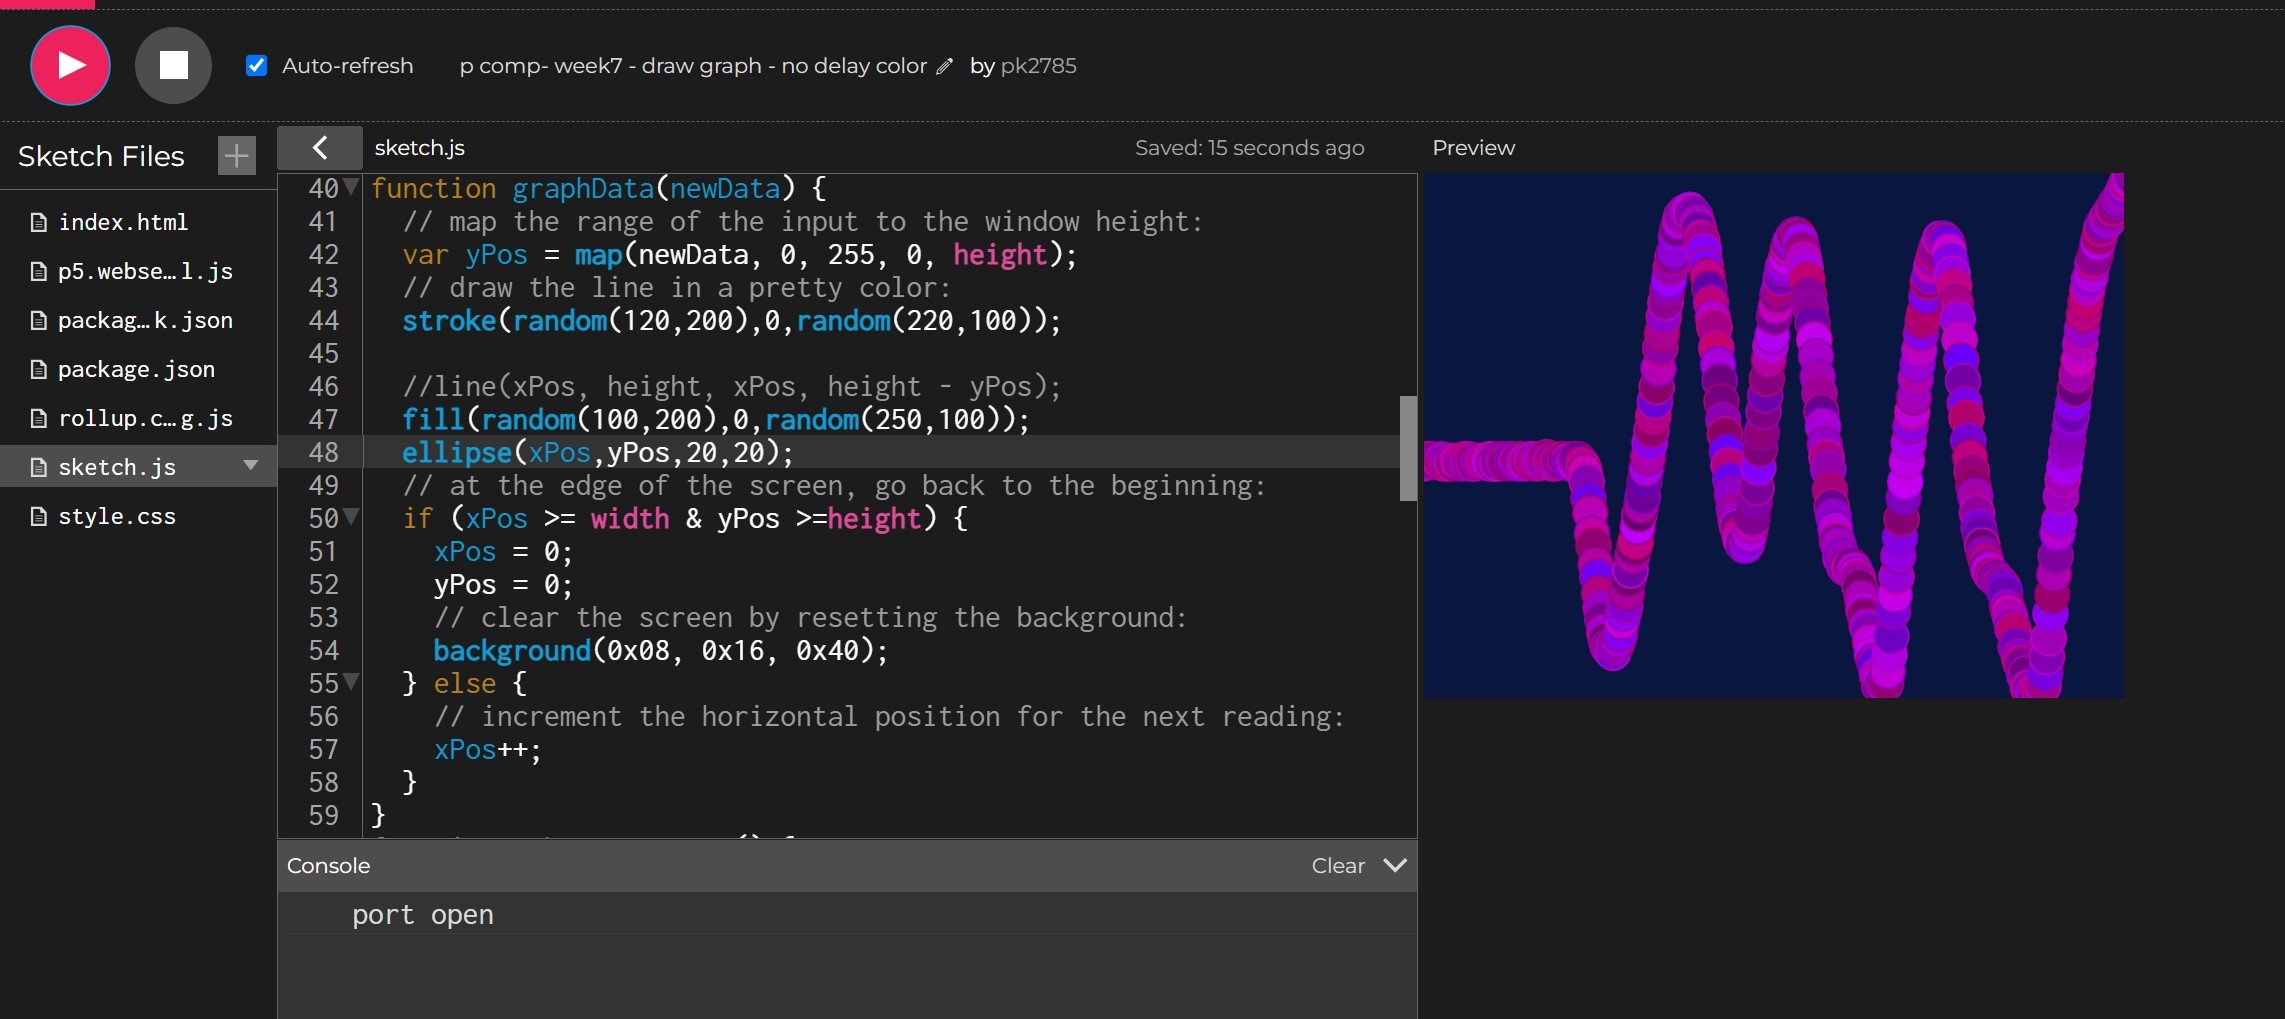
Class 07 : Lab: Serial Input to P5.js using WebSerial
What I learn
This lab demonstrates how to establish serial communication between an Arduino microcontroller and a p5.js sketch using the p5.webserial library. Using basic knowledge of microcontrollers, asynchronous serial communication, and P5.js.
Summary of the steps:
Hardware Setup:
Connect a potentiometer to an analog input pin on the microcontroller.
Microcontroller Code:
Program the Arduino to read the analog input, map the value, and send it via serial communication.
P5.js Setup:
Include the p5.webserial library in your HTML file.
Initialize the p5.webserial library in your JavaScript code.
Serial Events:
Set up event listeners for different serial events (e.g., port availability, data reception).
Handling Incoming Data:
Define a function to process incoming serial data, converting it to a usable format.
Graphing the Data:
Use the received data to draw a graph in the p5.js sketch.
Reading Data as a String (Optional):
Modify the Arduino code to send data as an ASCII-encoded string.
Adjust the p5.js code to interpret and process the received string.


